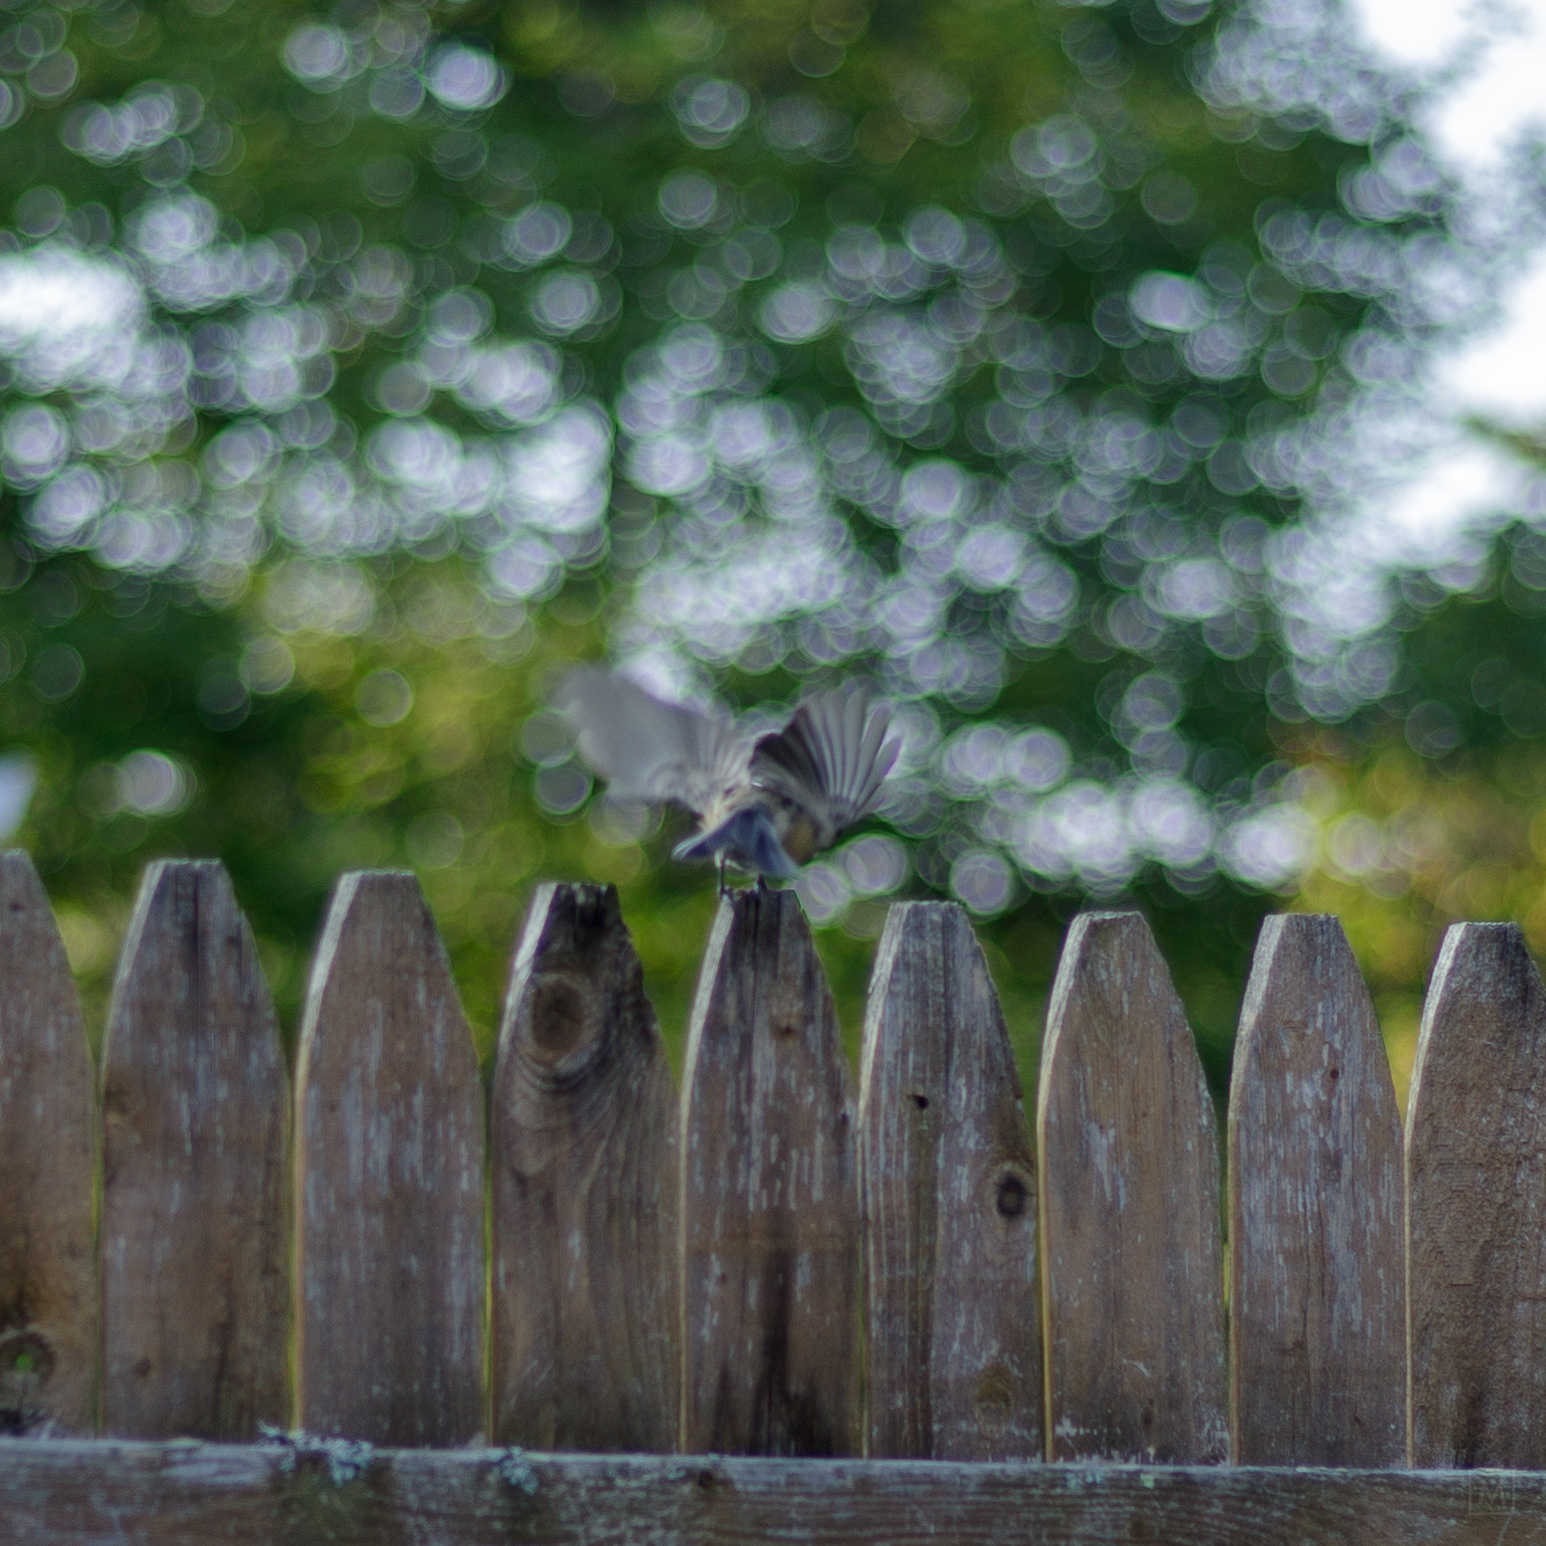
In the garden this morning, hello little friend.

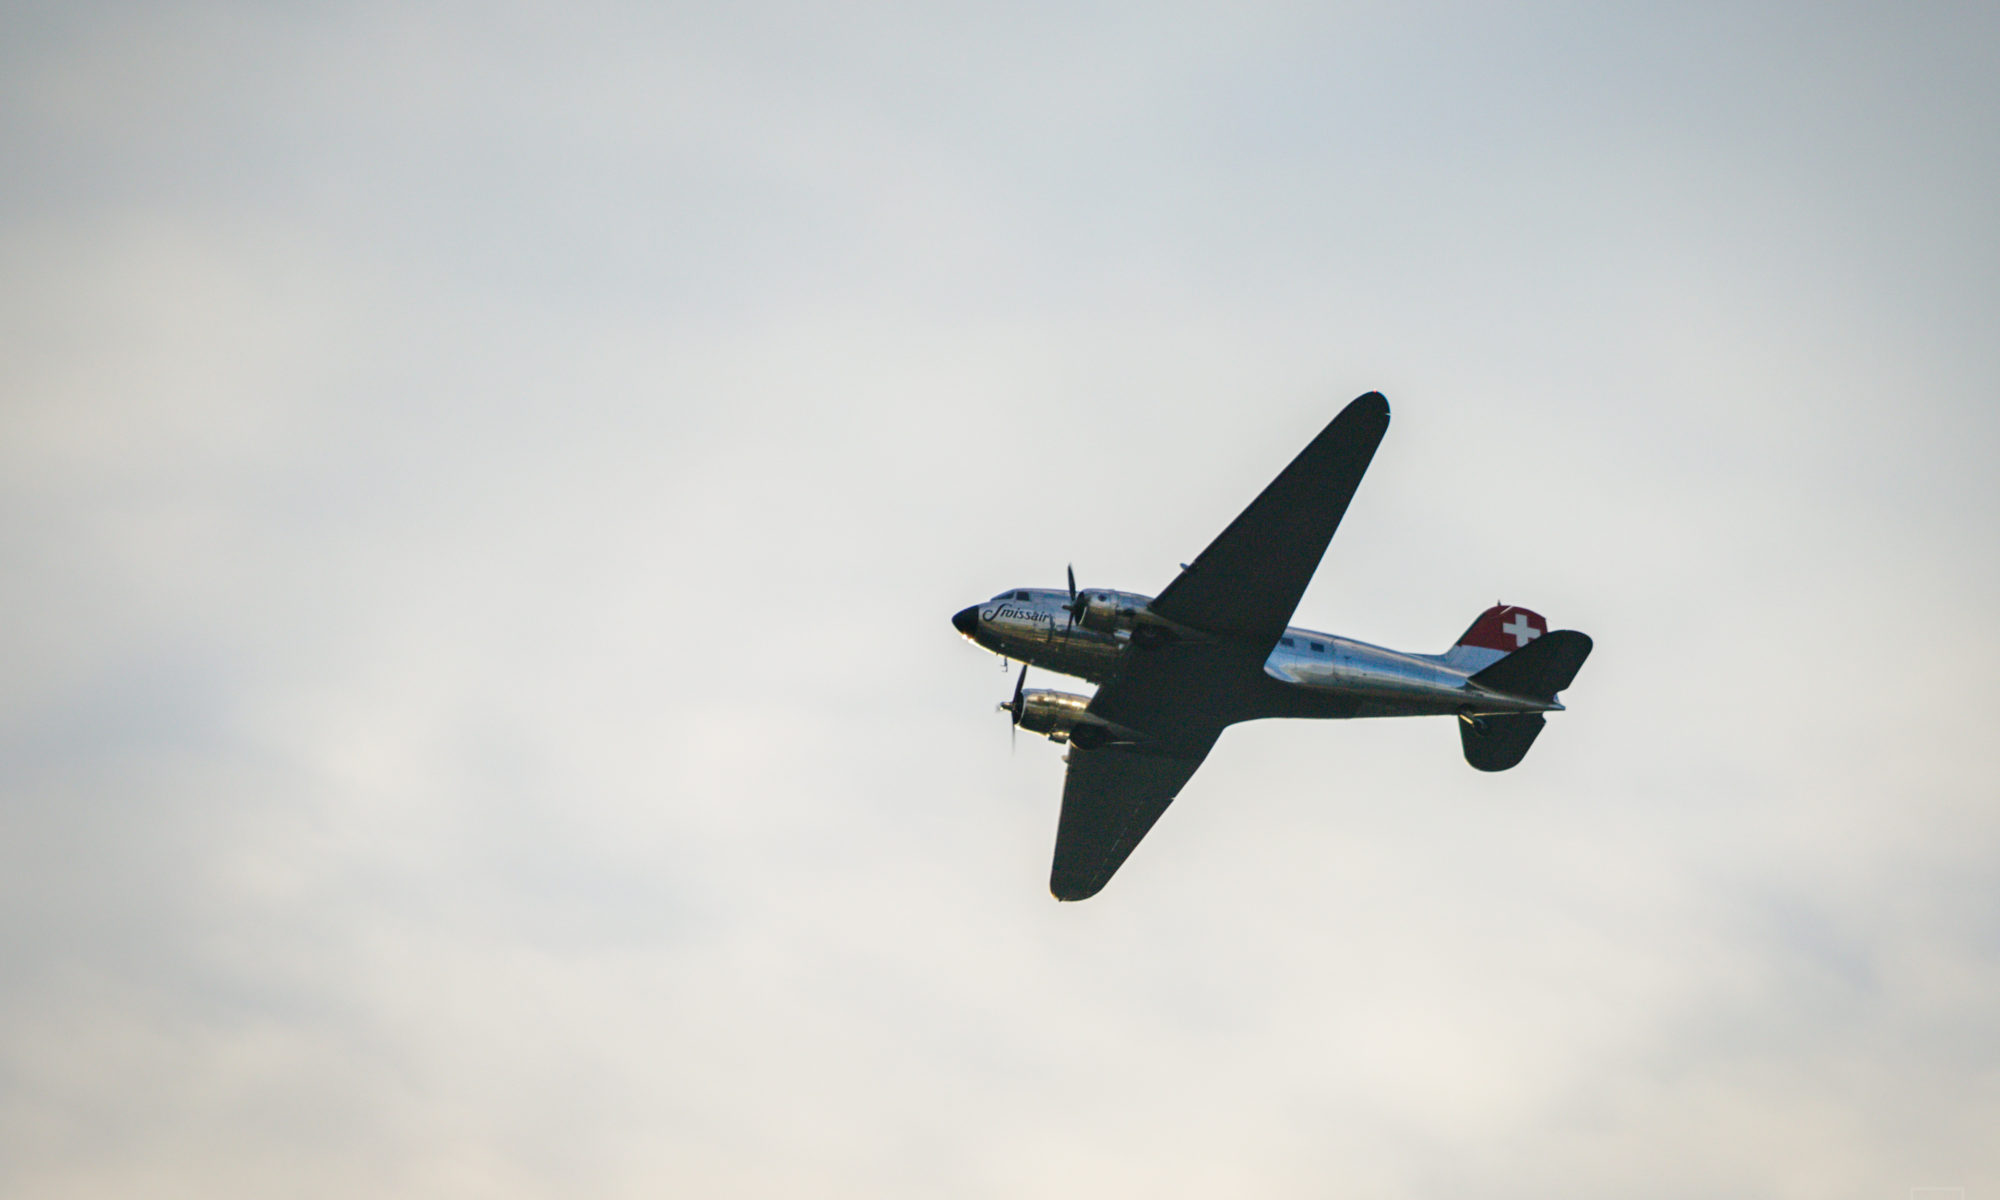
Vermont to Switzerland
In the garden this morning, hello little friend.
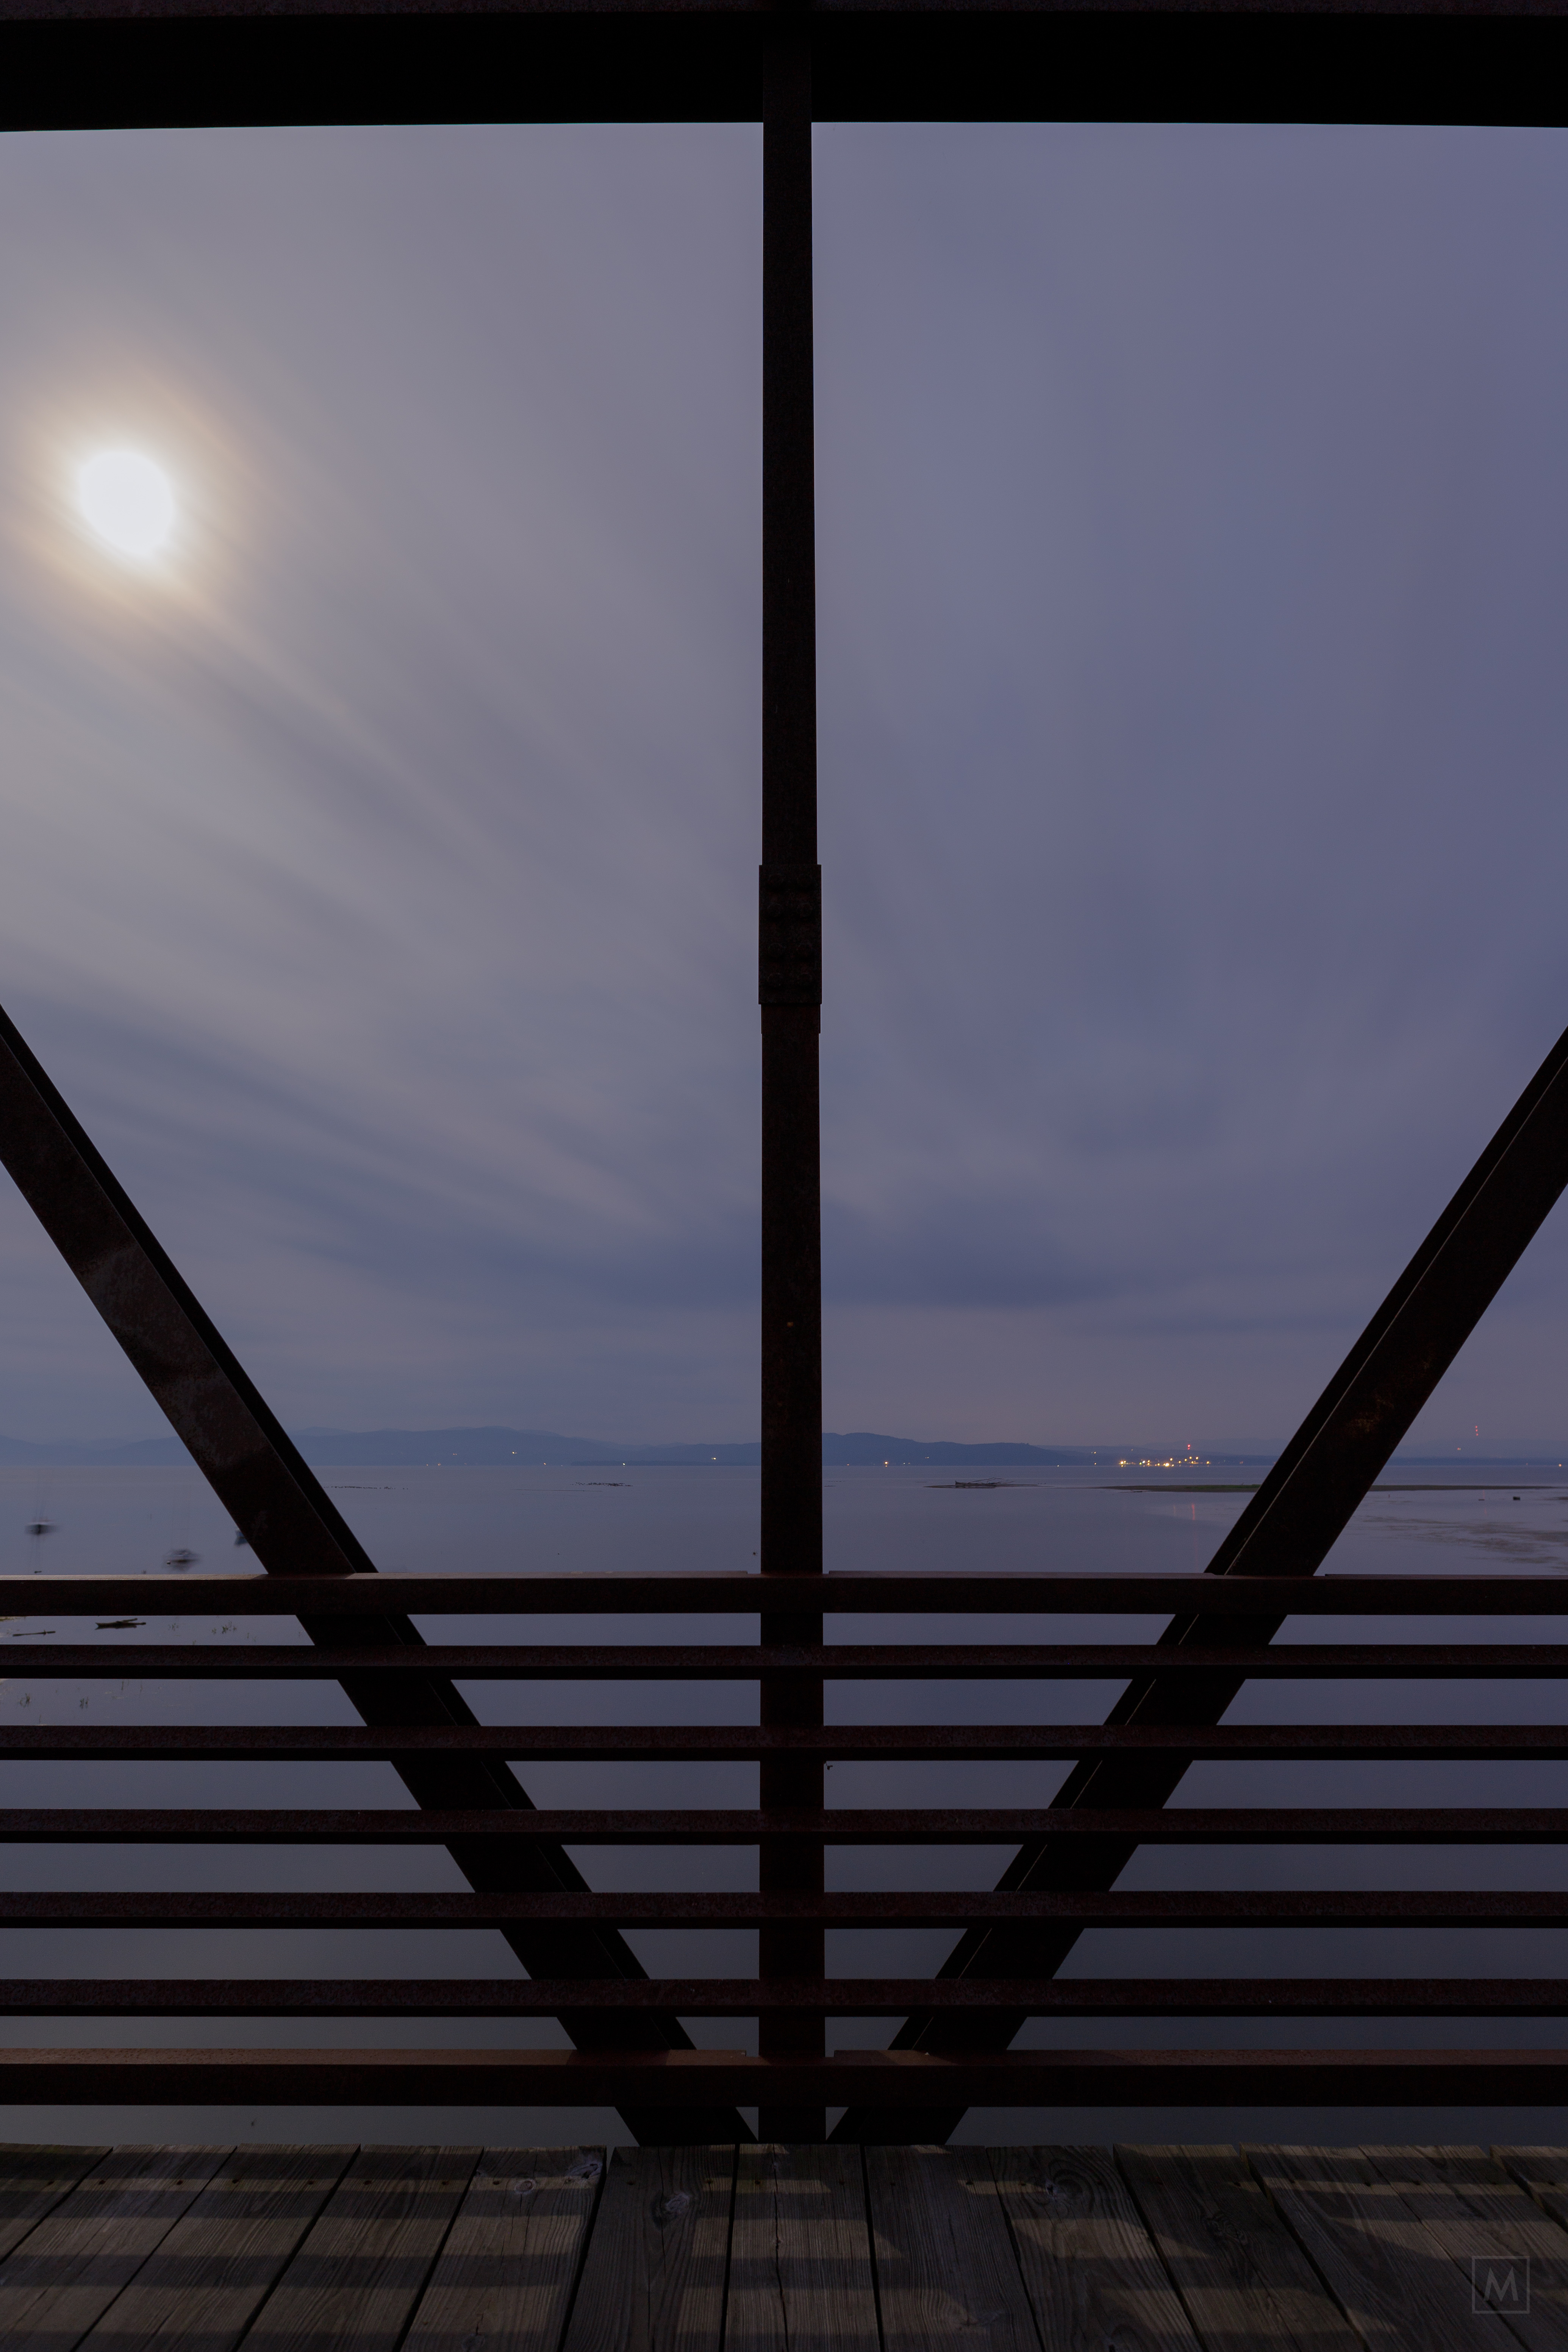
Lake Champlain and the Adirondacks from the bike and pedestrian bridge over the Winooski River, Burlington, VT
Water, falling down rock, just off the Abby Pond Trail in the Green Mountain National Forest.
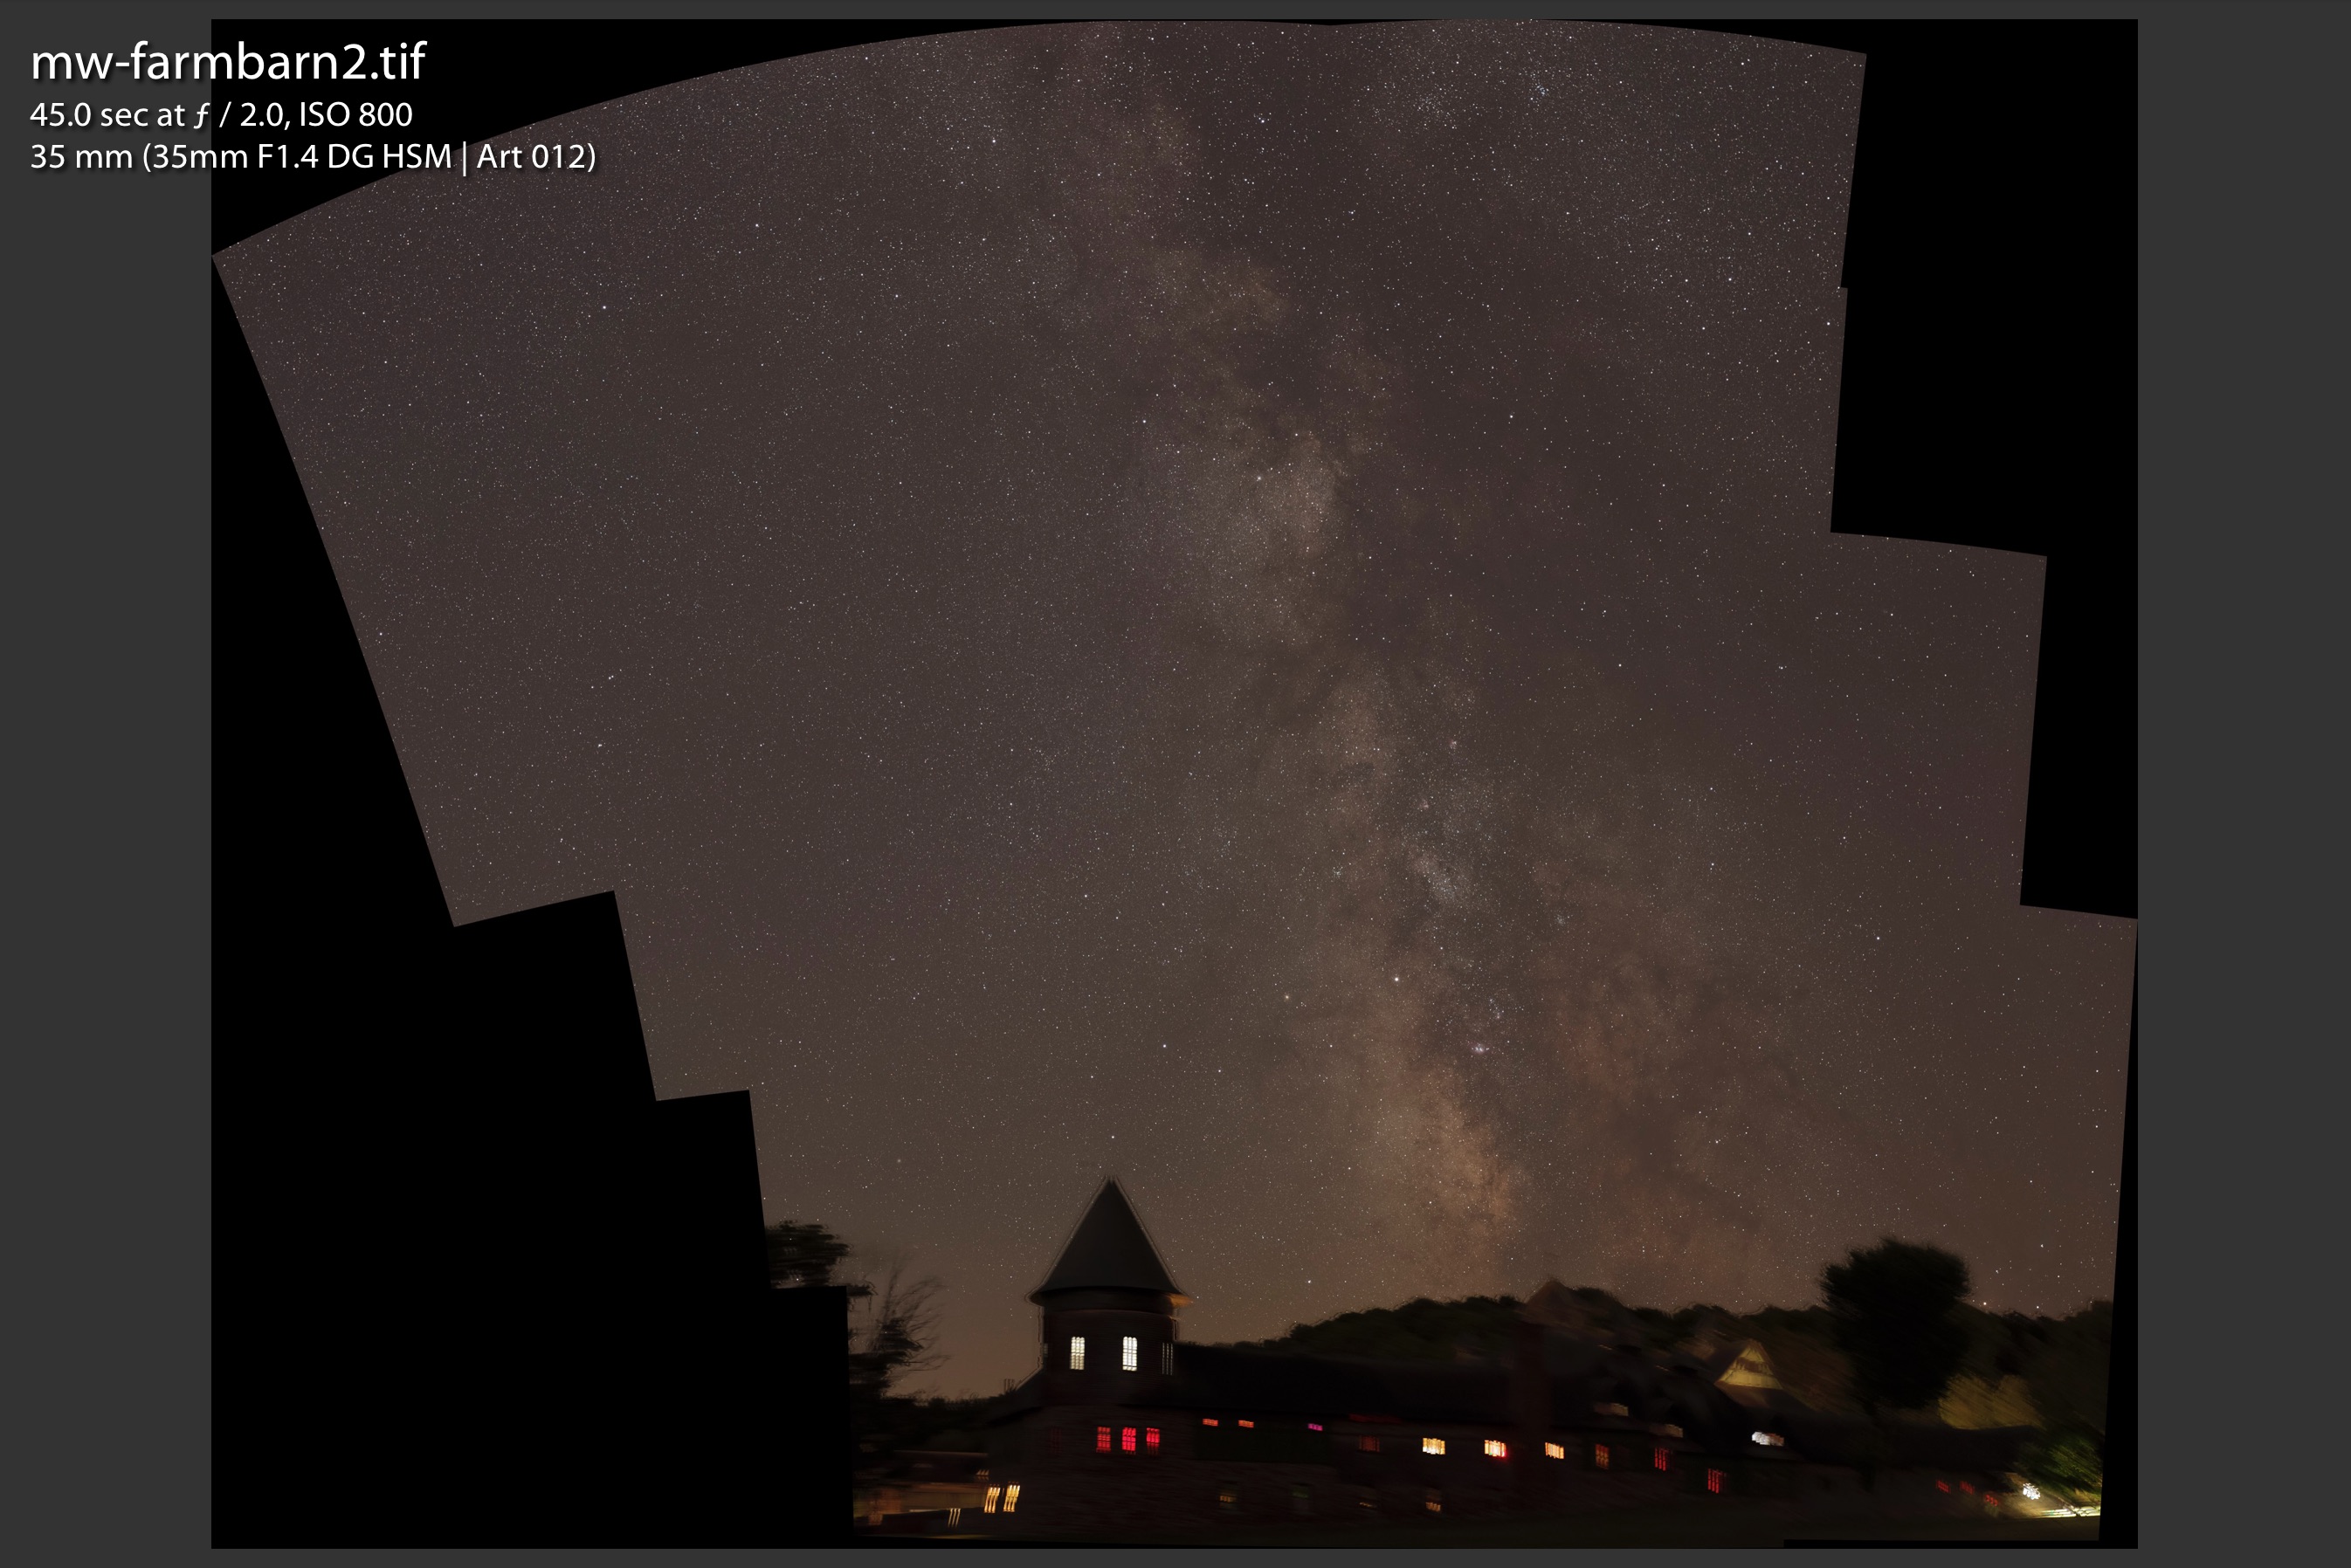
A mosaic image of the Farm Barn and the Milky Way, Shelburne Farms, VT.
My recent image of the Milky Way over the Farm Barn is one more step on a journey of learning how to capture images of the night sky, and including terrestrial landscape elements. The climb has been steep – and I have a long long way to go – but the Farm Barn image combined everything that I currently know about this type of image making.
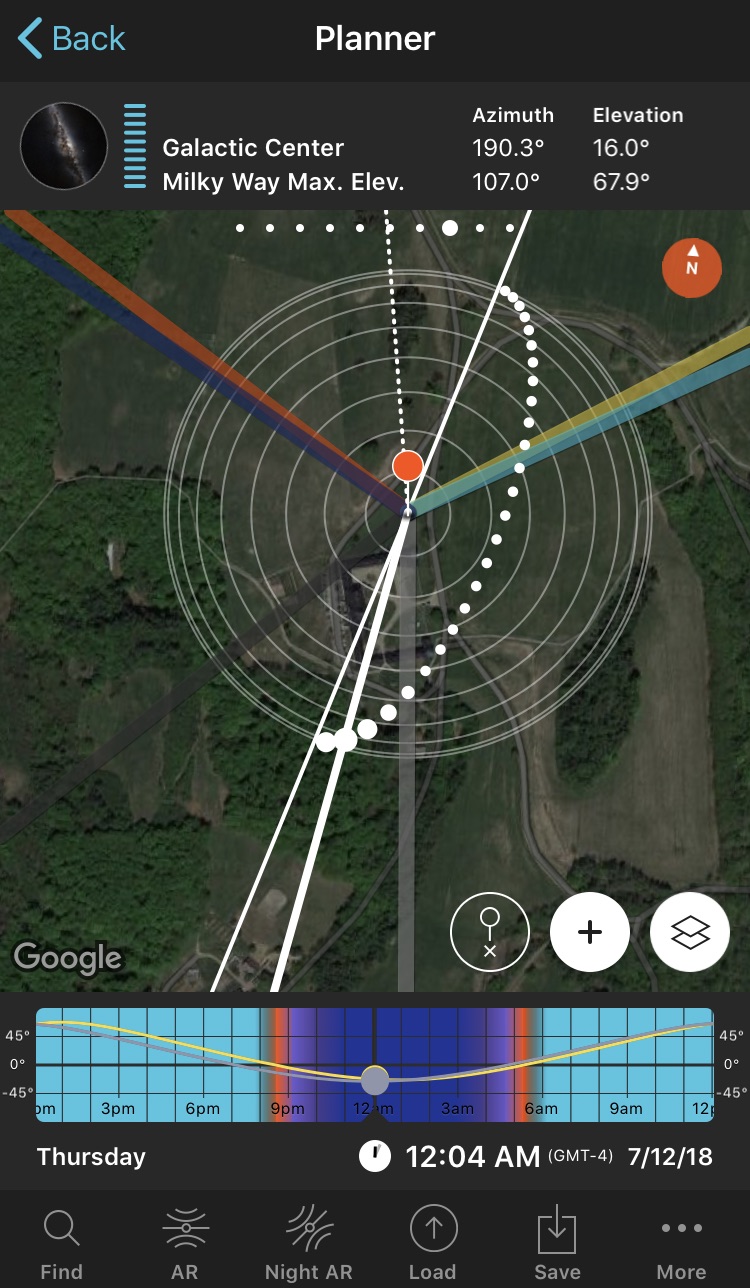
My first step in shooting the image was timing around a new moon to ensure I had a dark sky. I then used the PhotoPills app on my iPhone to digitally scout where the Milky Way would be throughout the night.
After tucking the family in for bed I grabbed some snacks and my gear, then setup at Shelburne Farms. We have been long time members, and our girls have gone to a school that shares space in the spectacular Farm Barn – so I am familiar with the grounds – hiking all seasons, photographing the sunrise, wandering with the kids before and after school, and enjoying the Harvest Festival and other events.
Once on site I let my eyes adjust to the night sky and then set up my camera gear. I brought a small camping tarp with me so I spread it out on the ground to unpack and sort gear. I can then fold the tarp in half over my backpack and gear to keep things from getting wet from the dew or the ground. I then launched the PhotoPills AR feature and walked around a bit to get a good alignment with the foreground and the sky. Once in the general spot I set up my gear.

The tripod goes up first, followed by a Vixen Polarie sky tracker. The tracker is a small device that rotates the camera mount at the same speed the earth is spinning under the sky. This allows longer exposures of the stars without elongation or trailing. I align the sky tracker with a compass, then adjust for the latitude I am taking the photos, and finally by eyeing Polaris in a tiny alignment hole. In some cases where I can’t see to the north I use my phone with an astronomy app running – I will search for Polaris in the app and then hold the phone on the body of the tracker to make sure I am close with my compass and latitude alignment. I will eventually get the polar scope for the device which allows very accurate alignment with longer focal lengths – but for wide angle shots I have been having good luck using just the eye hole and compass method.
Once setup I took a few test images. To focus on the stars I carry a small loupe for inspecting film or slides and use the live view screen on my camera. I manually focus on a bright star and take a few 5 second images at ISO 1600, f/2 to double check. Once I have the static focus set I turn on the tracker and take a few images at 30 seconds to make sure my alignment is set correctly and I am not getting any elongation as the Earth rotates. After verifying focus I take a few exposures at the full length I am planning for a triple check of focus, alignment, and settings. By the time I was setup I realized that when I finished my sequence – which would take over an hour to capture – the stars would have moved a bit more than I thought – so I ended up moving my tripod setup (twice) to get the framing with the tower on the Farm Barn I wanted. After each move I realigned to Polaris, and then verified with a 30s image that I did not have star elongation or wobble.
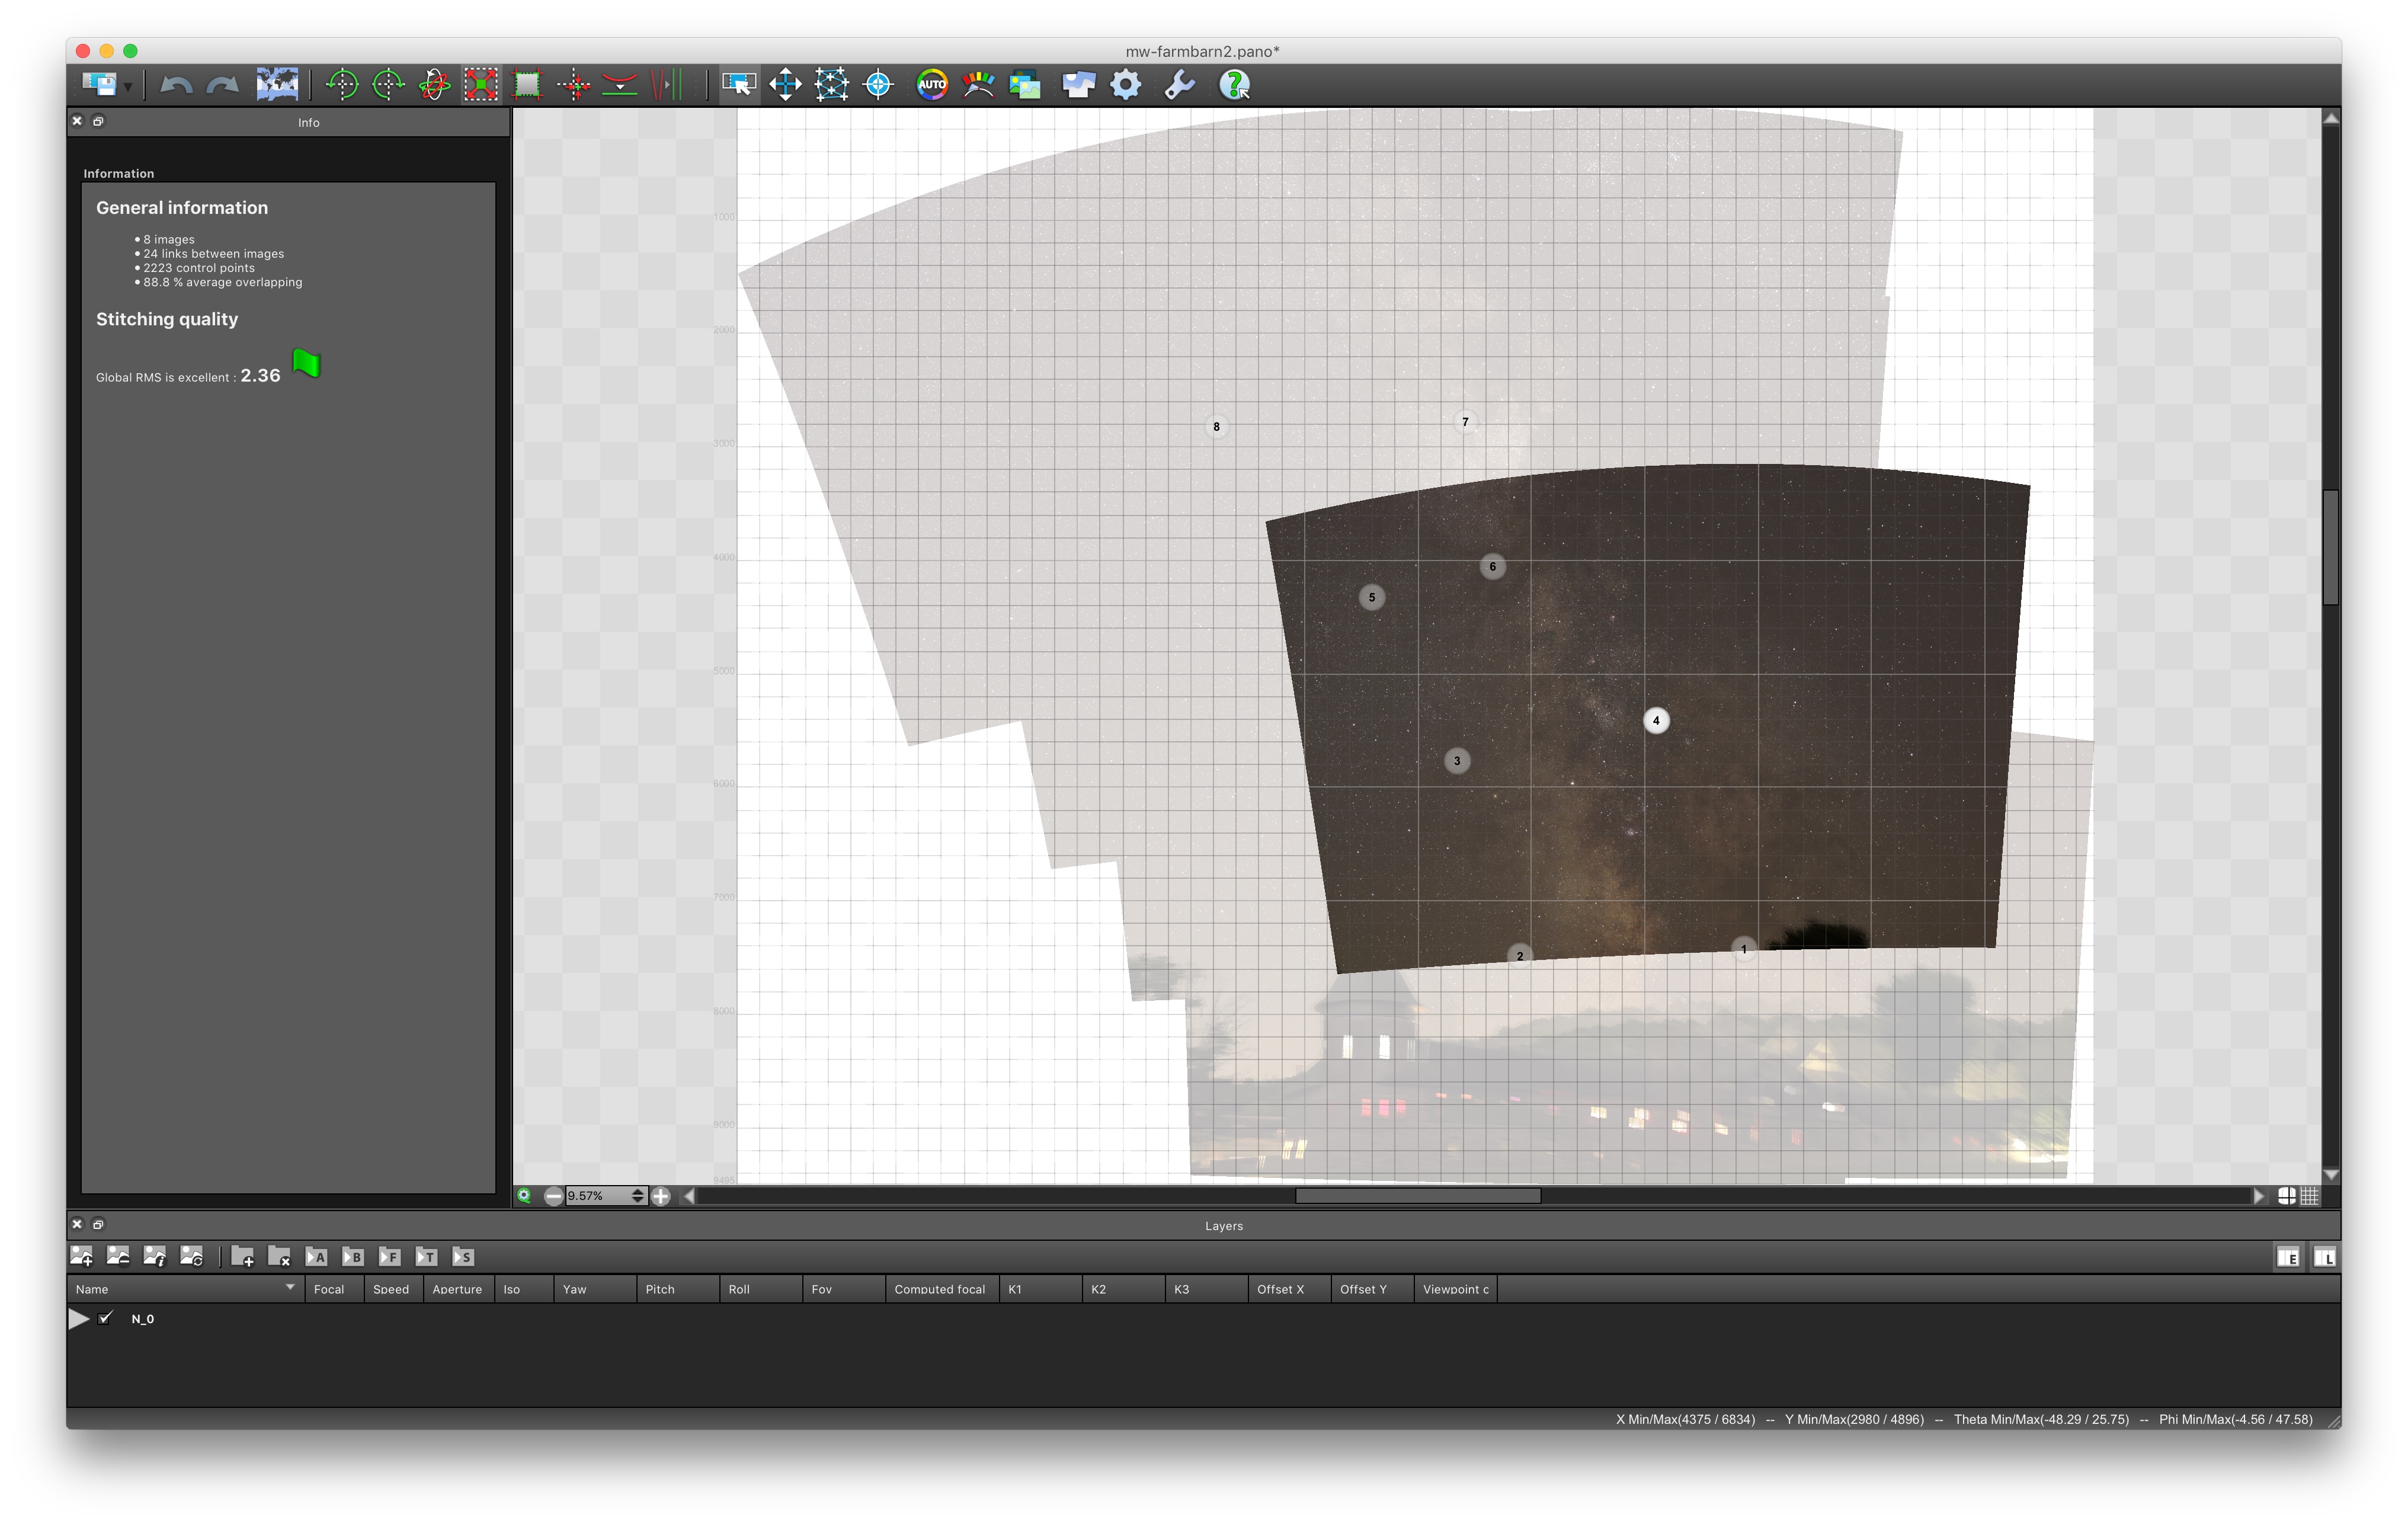
The final image is a composite of 32 images for the sky, and 2 images for the foreground. The 32 images taken for the sky include 4 images from 8 distinct camera positions. Each sky image was taken at 35mm, f/2, ISO 800 for 45 seconds. The foreground images were taken at 35mm, f/2, ISO 800 for 45 seconds. The whole sequence took about an hour to capture – but as I was shooting my last frame of the barn the O’Bread bakers arrived and turned on the lights! Unable to finish the last frame of the foreground I had to re-shoot the barn, and was worried about handling the bright lights when I combined the images.
Once home, after some sleep, I imported everything into Lightroom and did some basic processing – lens corrections, minor contrast and highlight adjustments. I also geo-located the files and tagged each image in my library. From there I exported each of the 8 camera positions for the sky into a folder as TIFF files and then aligned and combined these images using Starry Landscape Stacker. Starry Landscape Stacker aligns the stars in the sky portion of the image while disregarding the ground, and then stacks the images atop one another. After stacking you can then perform calculations and imaging functions – mean, max, median, etc. – I used the median algorithm to knock down some of the noise inherent in taking longer exposures at night. The stacked images are then exported to TIFF, then brought into AutoPano Giga for stitching into a mosaic / panorama. I’ve used Hugin (free) and PTGui Pro, as well as the built in tools within Photoshop and Lightroom – but I’ve been having the most luck with AutoPano Giga recently – so I have been practicing with it on most of my images.
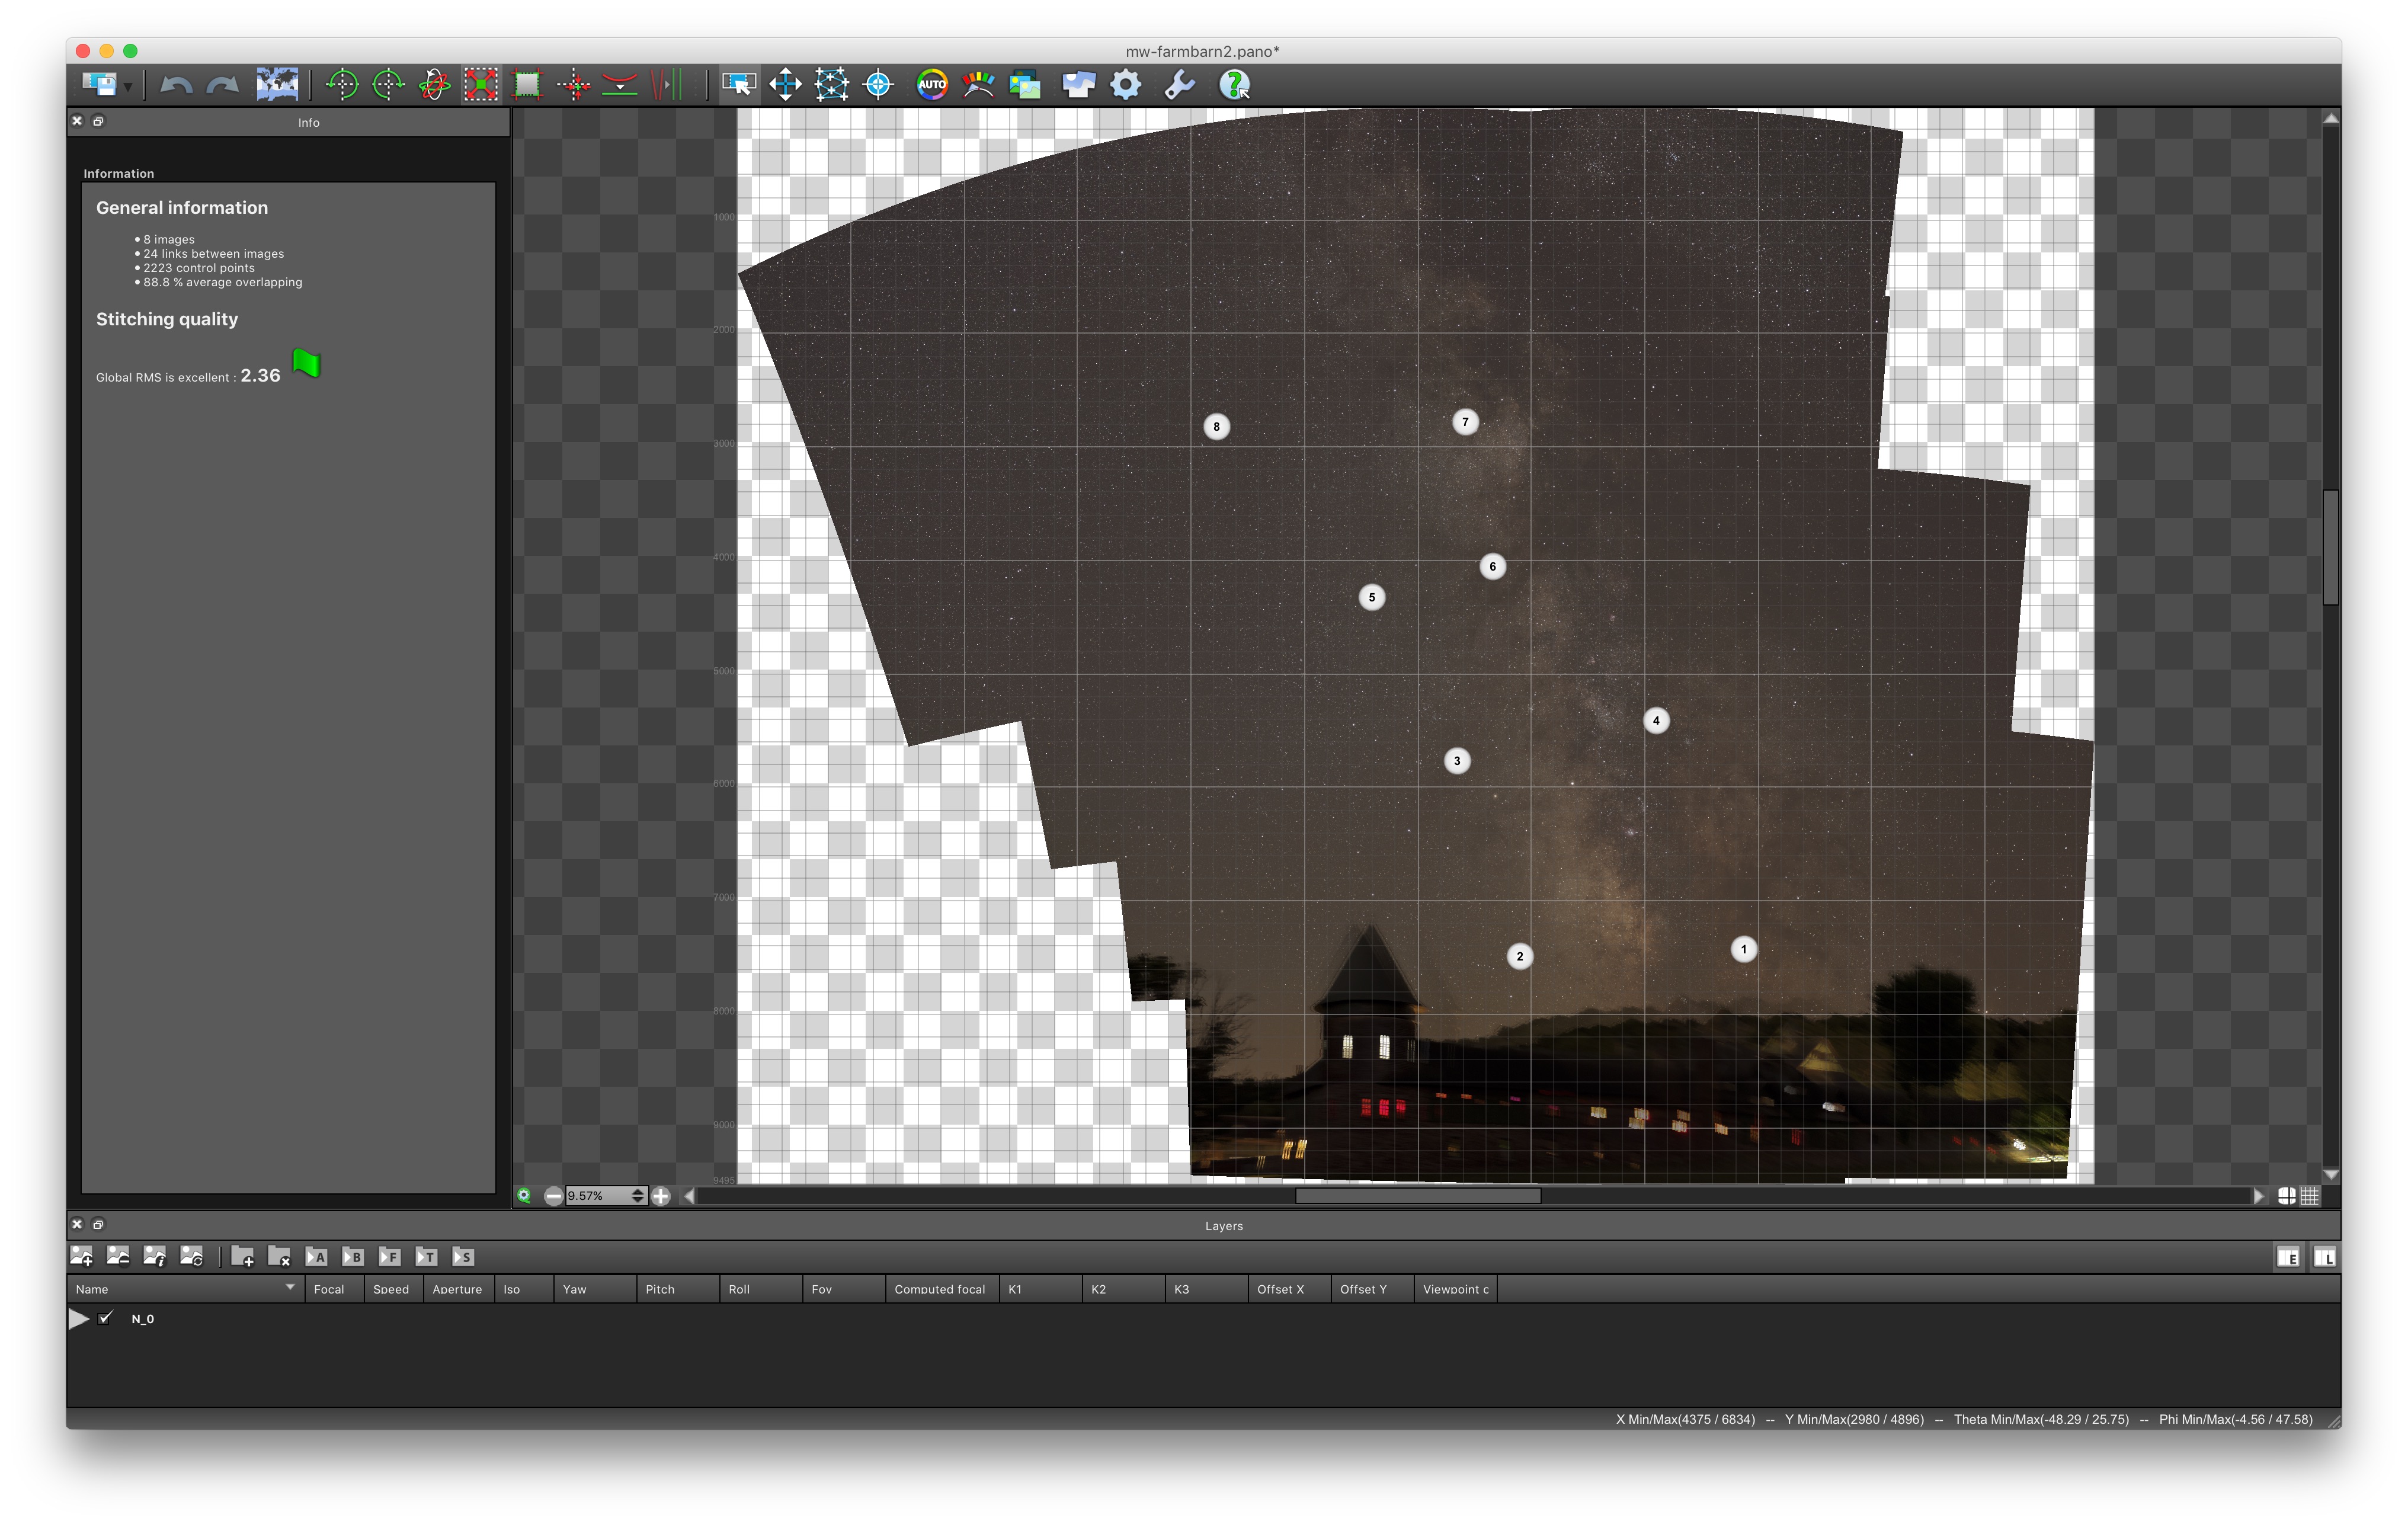
The panorama software has a ton of features including masking control (moving objects), setting a projection (spherical, mercator, cylindrical, etc), exposure controls, etc. – I adjusted the projection to mercator, leveled the image a bit, and cropped to the extents of the frames I captured. Upon seeing the preview I wish I had captured 1 more location in the sky – as the stars move I need to remember to overcompensate a bit when including a static landscape.
Once aligned I exported the final sky image as a 16 bit TIFF file and then re-imported it into Lightroom.
I repeated the stitching process with my foreground images, then edited out the sky in Photoshop and imported it back into Lightroom.
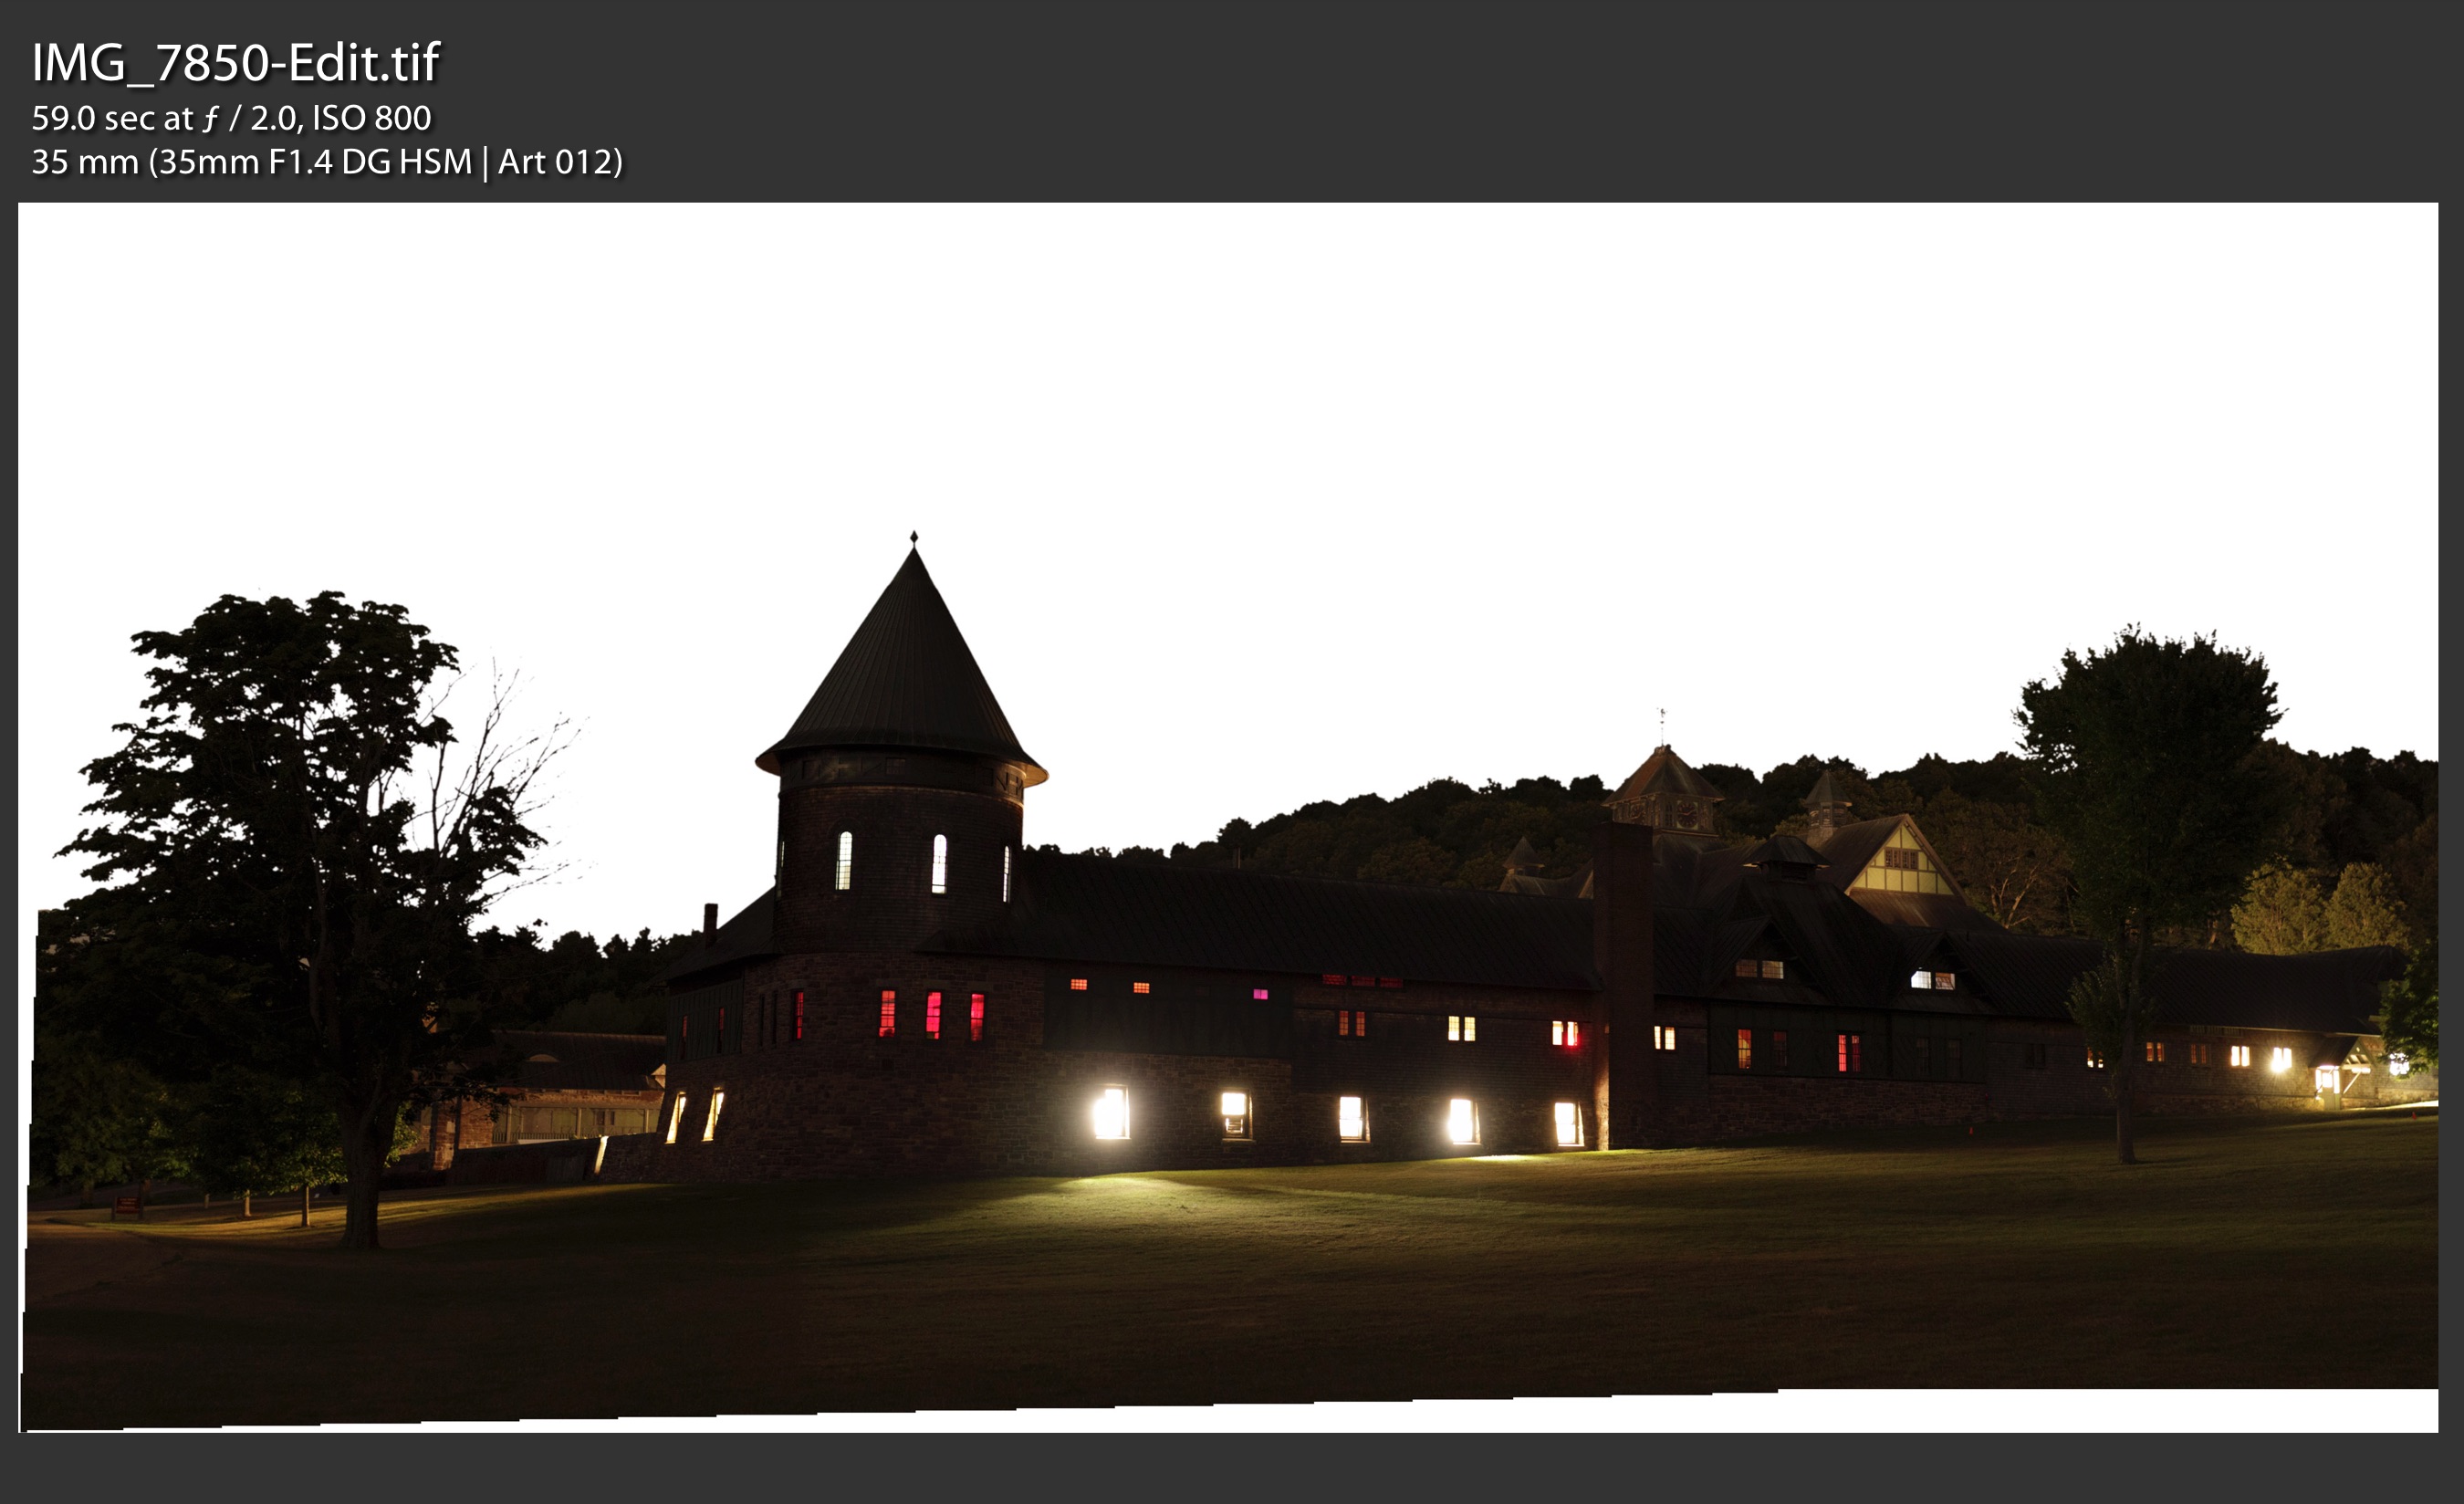
I then open both the background and the foreground in Photoshop as layers. My first step is to stretch the sky to bring out the Milky Way. The camera captures an amazing amount of light – much of it subtle – so it requires some stretching to bring out the detail of the Milky Way above any light pollution or sky glow. Thankfully we have (relatively) dark skies for the east coast when pointing away from major towns and cities, and the night I captured this image we had especially great seeing – Mt. Washington reported 100 mile views at sunset. To bring out the Milky Way detail and maintain reasonable color accuracy I use Roger Clark’s website as a starting point – I try to maintain Daylight White Balance and I stretch the background using a Curves Adjustment layer tweaking the Red, Green, and Blue channels of the image.
When happy with the background I worked on aligning the foreground image over the blurred and distorted portion of the landscape. This required some subtle scaling and perspective warping of the foreground image to match the projection used for the background, and then some cloning and healing to the background image to remove the drift and the blur that happens during alignment of the tracked sky. Once I had these cleaned up I did some dodging and burning of the tree line to get them to blend to the sky and look natural – this part of the process – the compositing and blending in of the foreground – is the hardest part for me and where I need to pick up more skills. I did several versions of this image before I was happy.
Once I get the foreground and background where I like them in Ps I save them back into Lr and do some final tweaking and adjusting – playing with the saturation, adjusting the shadows and brightness, and healing or cloning out any dead pixels or anomalies – in this case here were a few orange construction cones from concert parking on the lawn in front of the barn that I cloned out. I also blended the color and saturation of the foreground portion of the image – the very bright lights were taken down a bit, and the red glow from the exit signs was tweaked. Once satisfied I cropped in a tall and short version, double checked my tags in the library, and exported for the web. The original image is 6430 pixels wide and 9476 pixels tall, which should print as large as 26 inches wide by 39.5″ tall depending on the medium and the assumed viewing distance.
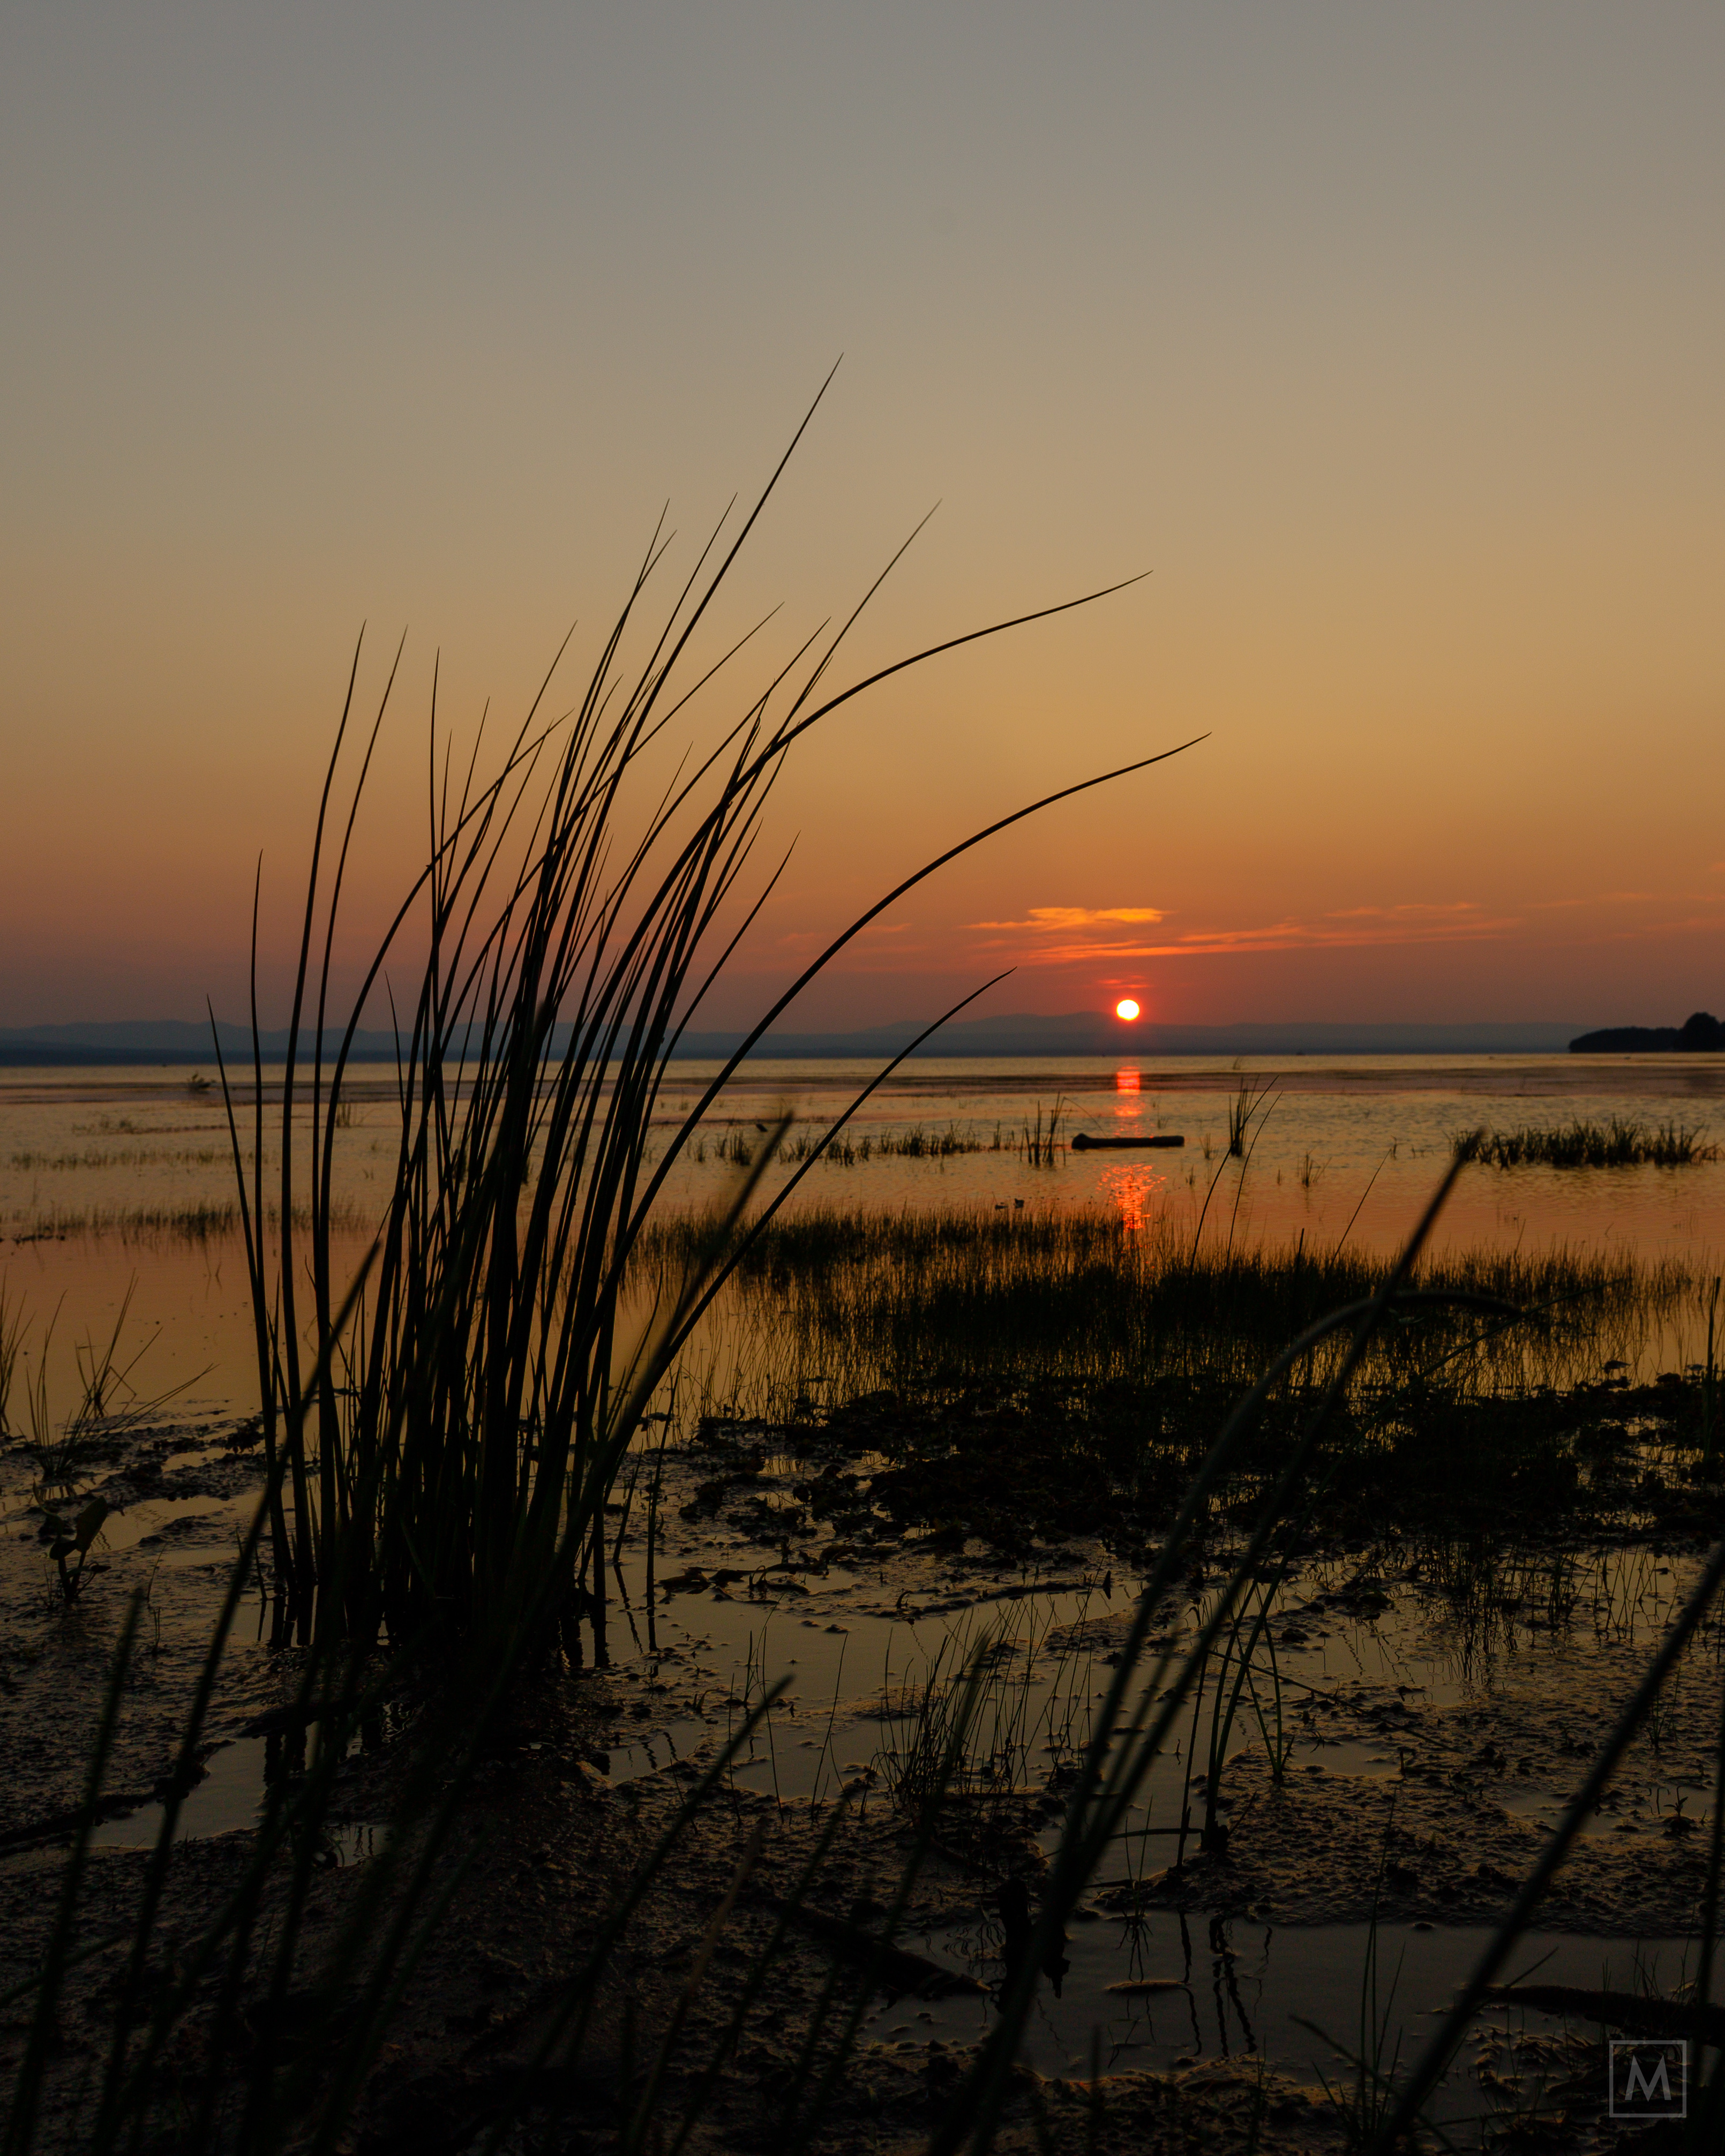
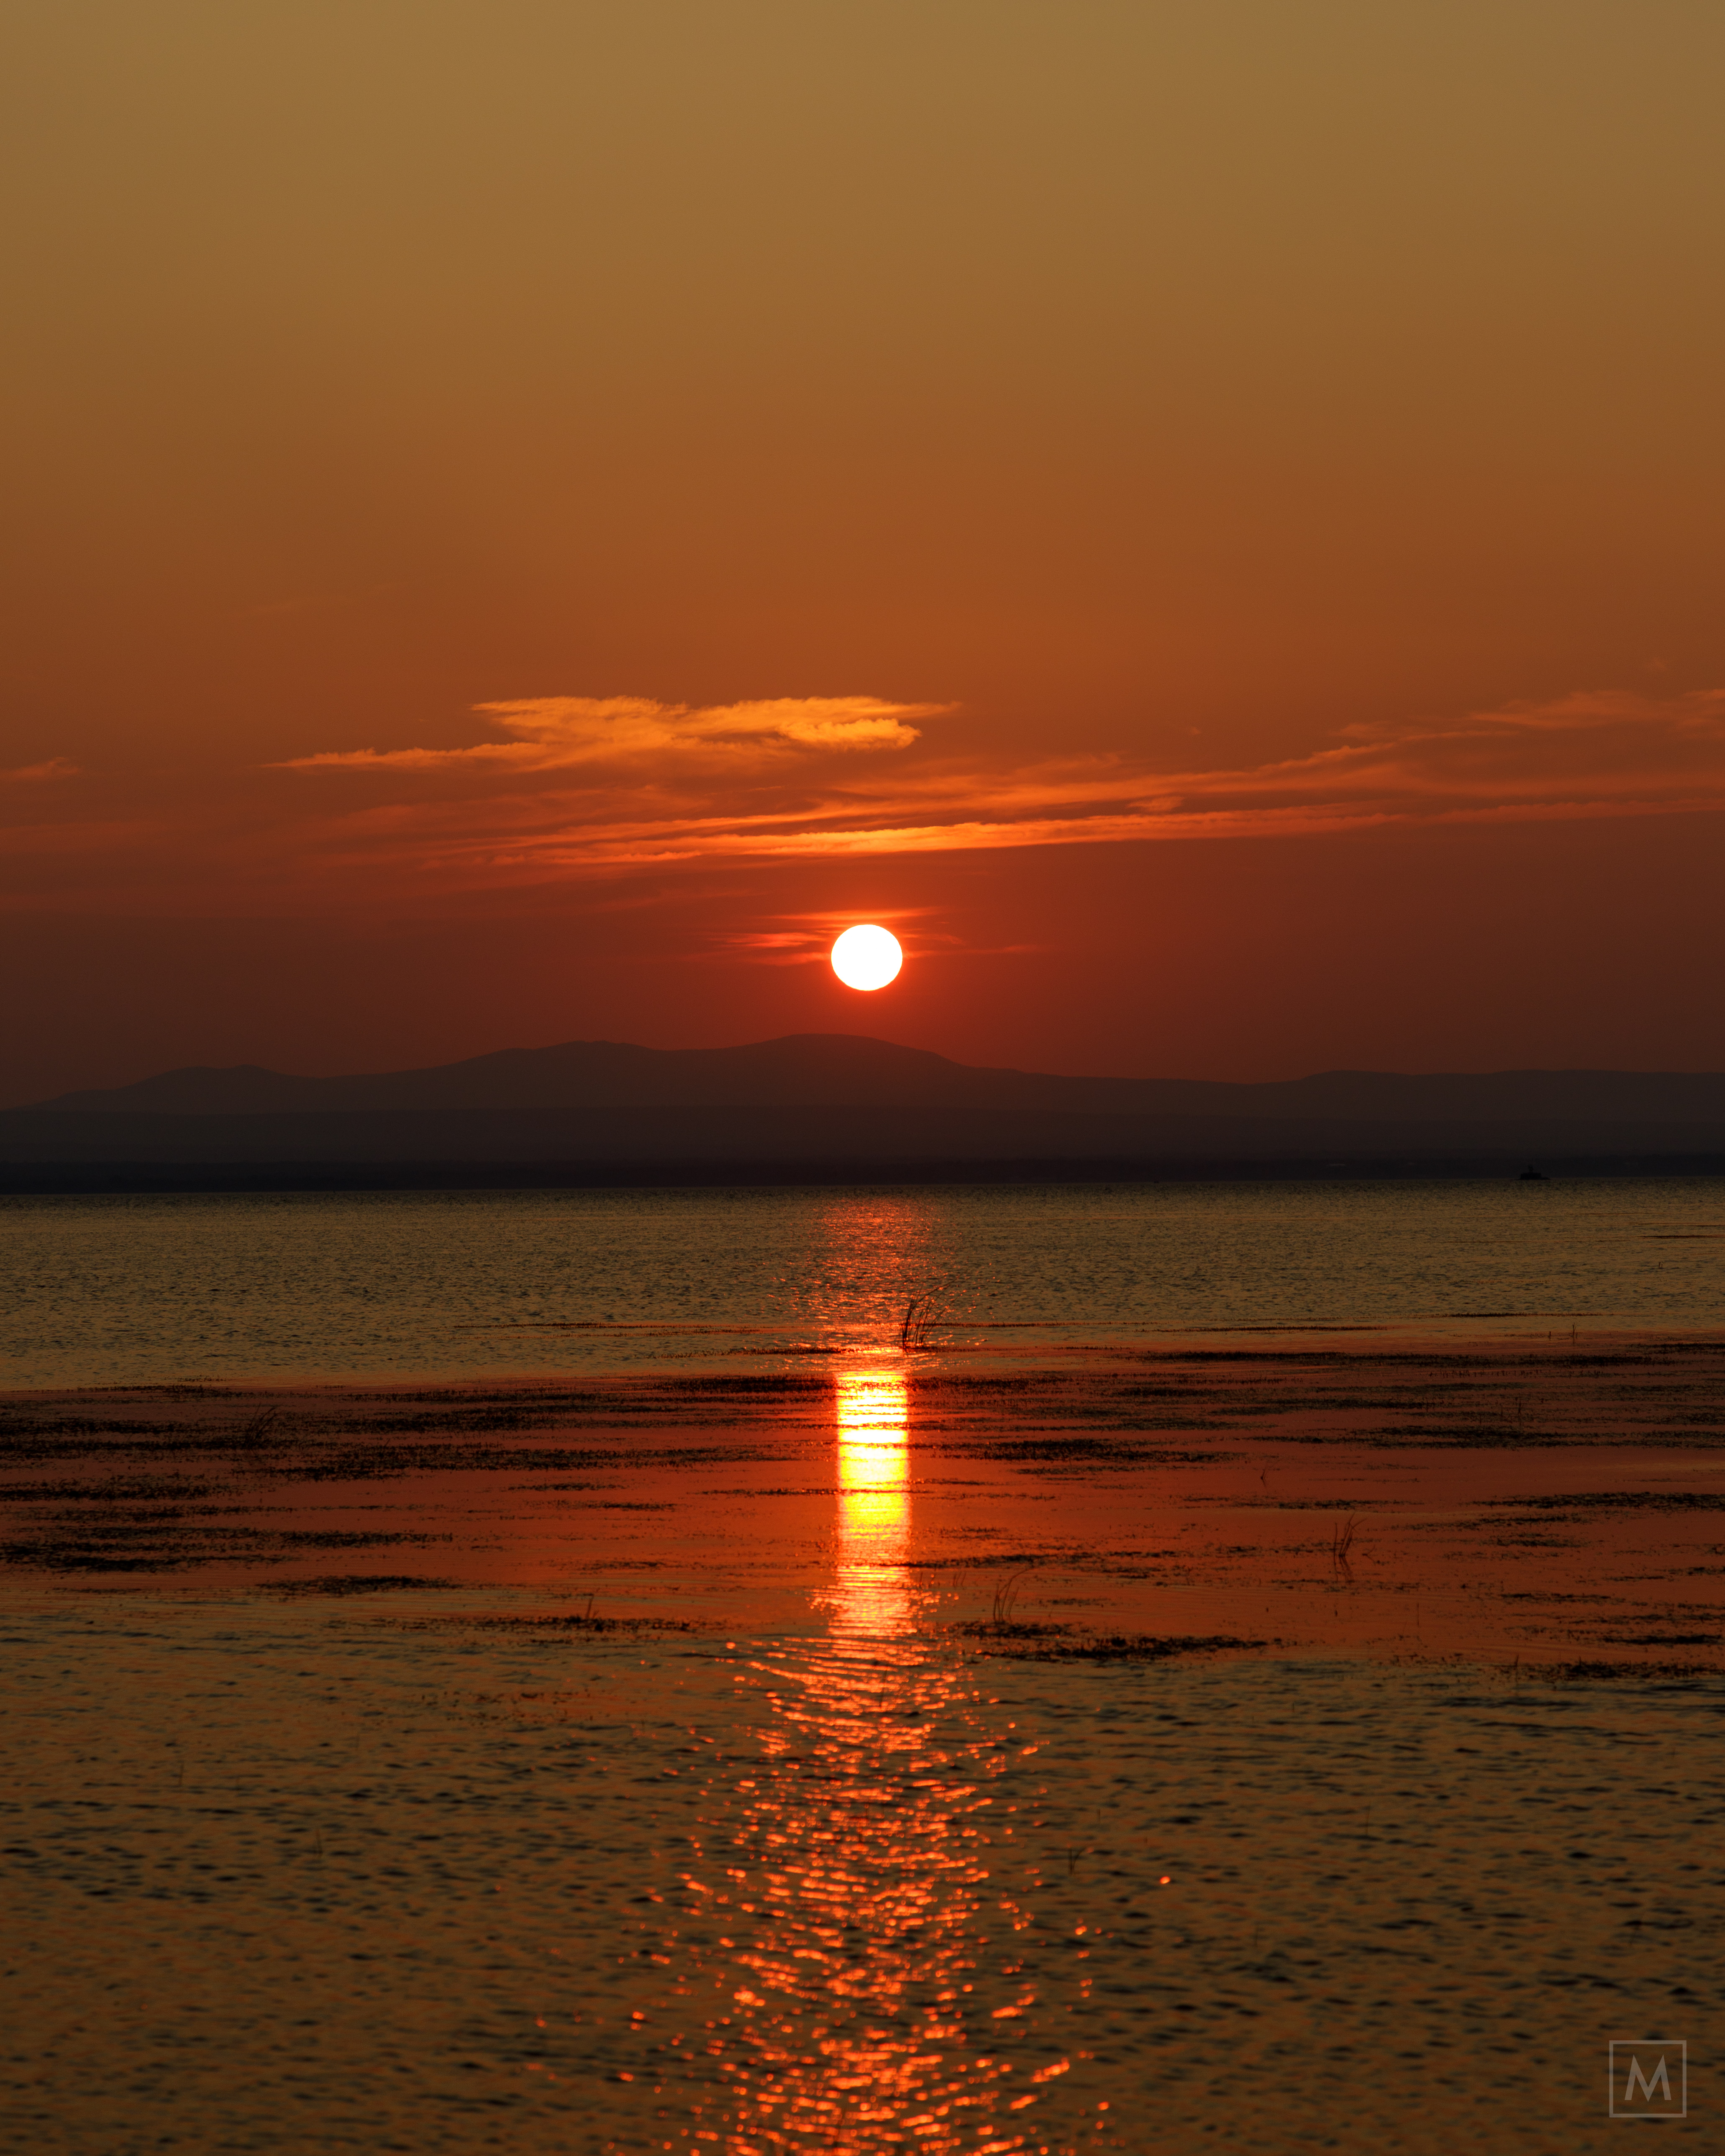
Just another wonderful VT Sunset over Lake Champlain and the Adirondacks.